Brush Clipping Mask
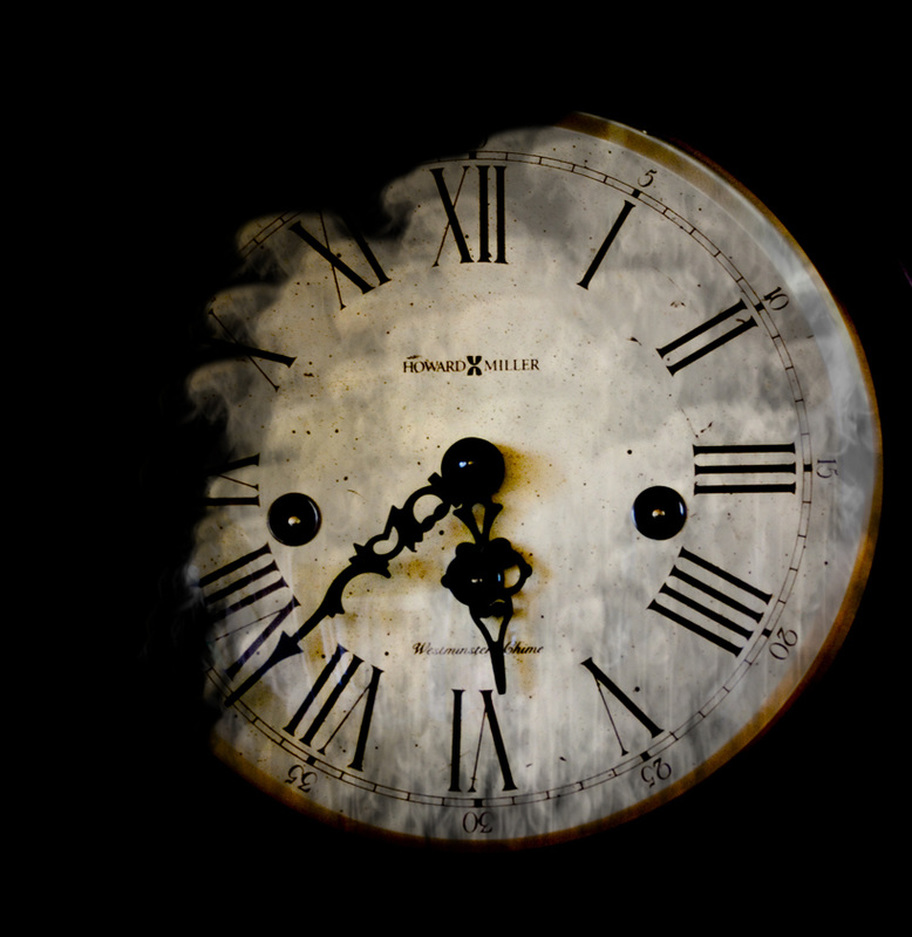
First, I opened an image and duplicated it. I then created a new layer for the brush and placed it under the duplicate of the image. I created another new layer and filled the background colour.
Clipping Masks
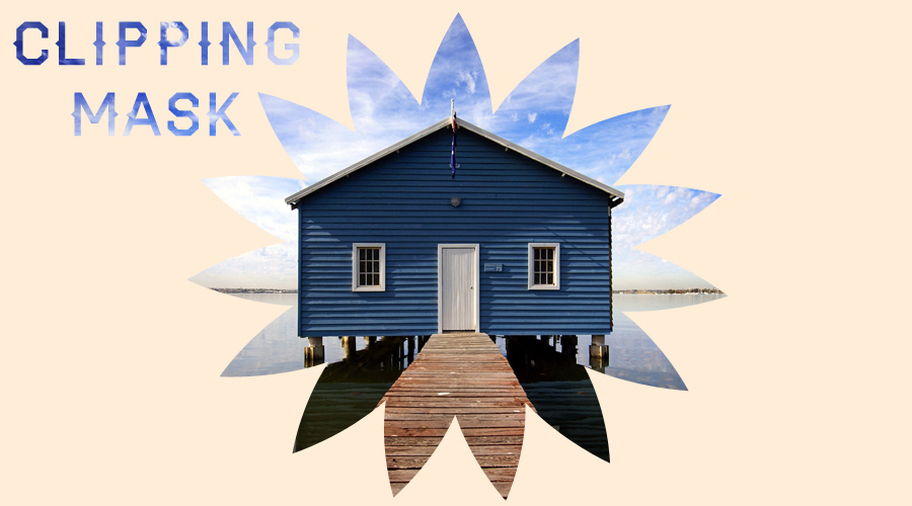
First, I placed the image of the house on the canvas. I then added a shape, and moved that layer under the house layer, and a text layer. Next, I had to duplicate the image of the house and put it over the text layer, I then clicked "create clipping mask" on each of the images. Finally, I changed the background colour.
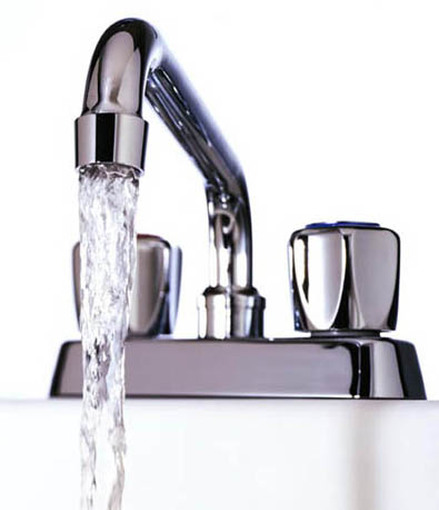
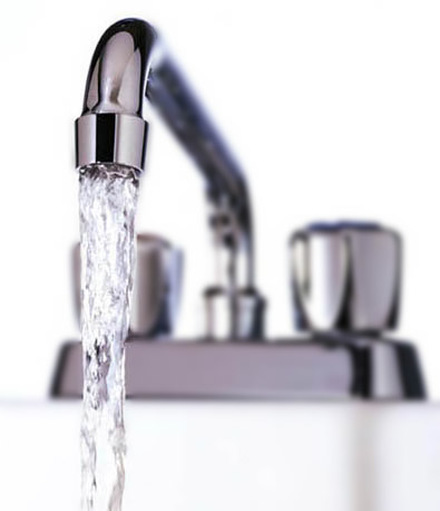
Gaussian Blur - Shallow Depth of Field
|
Before
|
After
|
|
|
First, I duplicated the layer. I then added gaussian blur and used the eraser to create the shallow depth of field.
Filters

For each image, I first changed the image to black and white. I then picked a desired filter. I colourized it using hue/saturation.
Texture and Blend Modes
First, I filled the background with a light blue. I added a texture layer and changed the blend mode to overlay. I then added another texture layer, changed the blend mode to lighten, and changed the opacity. I added a text layer and then added a drop shadow and embossing.
Desaturate and Blend Modes
The first image is the original. The second image, I duplicated the layer and desaturated it. I then changed the blend mode. The third image, I duplicated the layer and desaturated it. I then changed the blend mode.
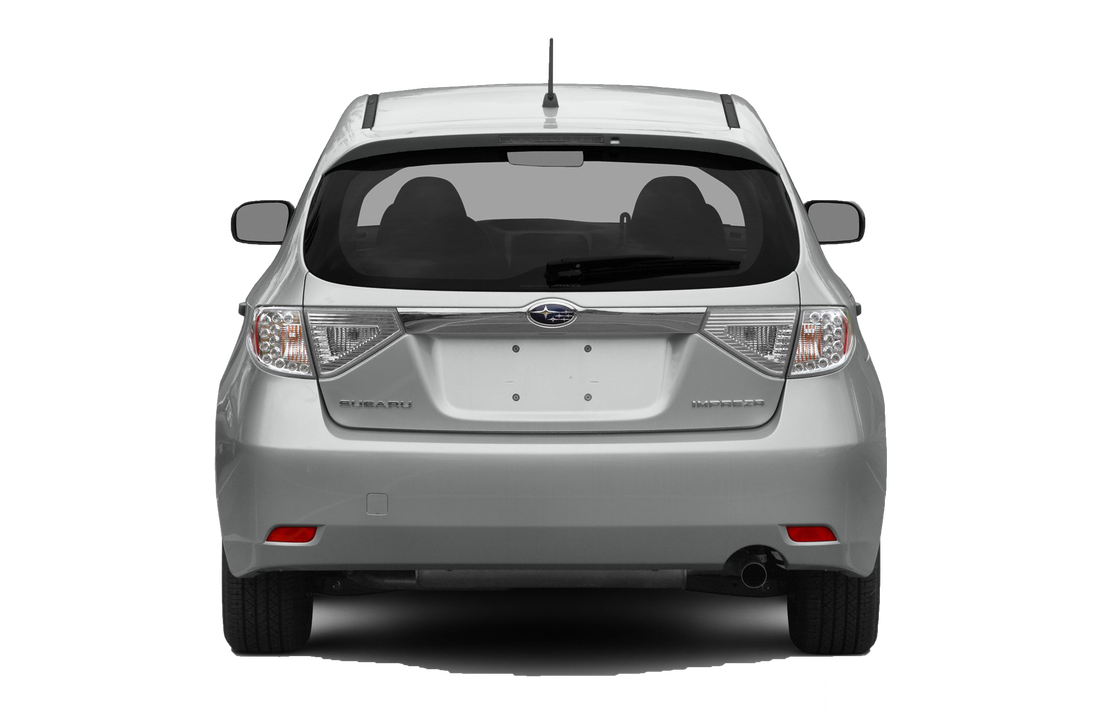
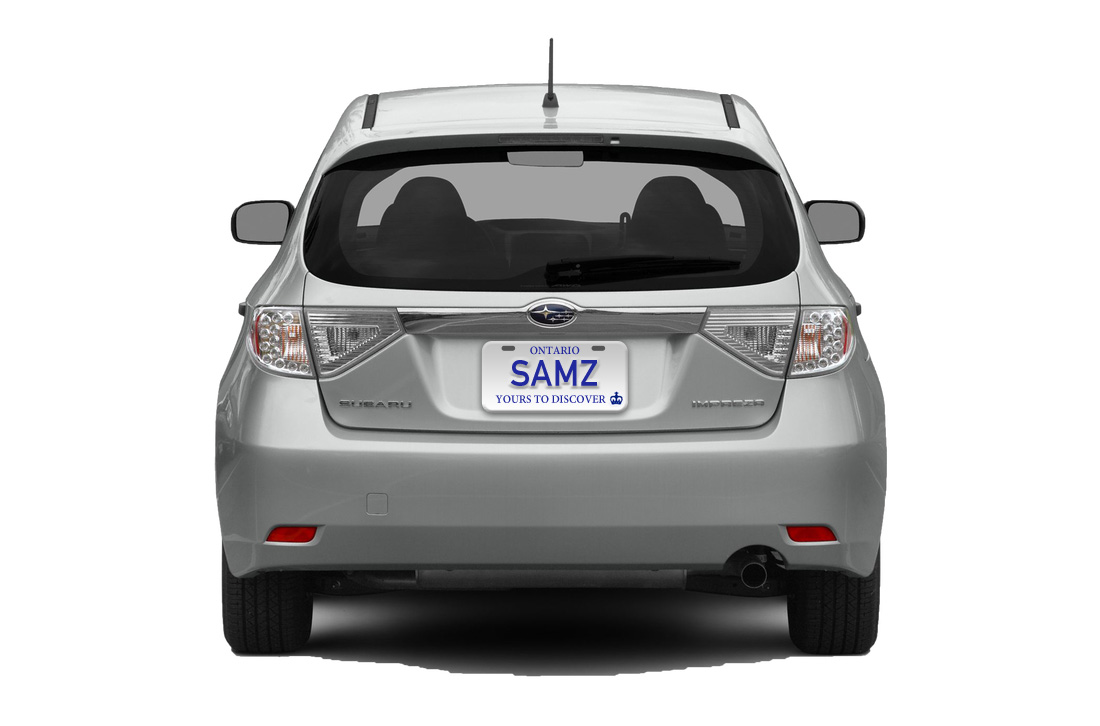
Car License Plate
|
Before
|
After
|
First, I used the rounded rectangle tool to create the plate. I then added the text and embossed the text with a hard chisel. For the plate layer, I added a drop shadow, and also a gradient. I then used the rounded rectangle tool to add in the cutouts on the plate.
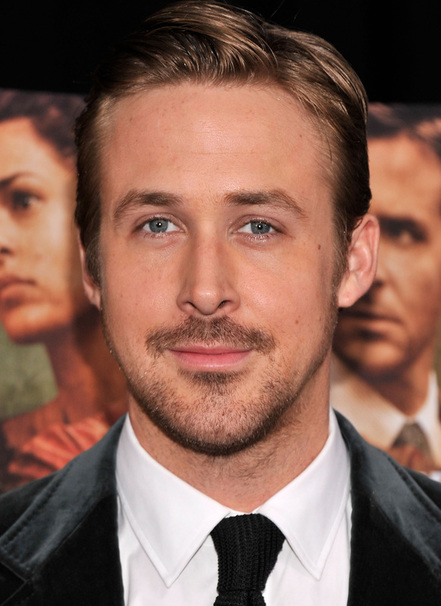
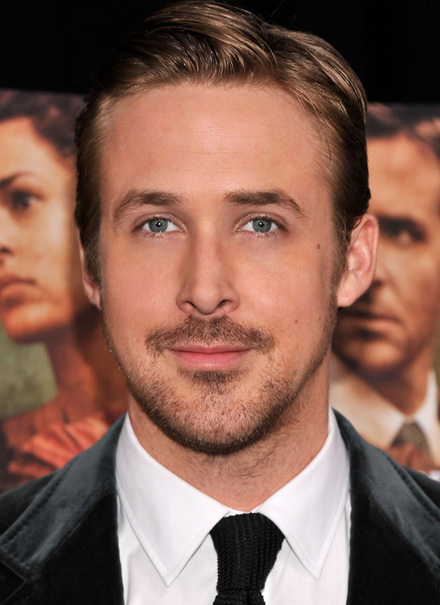
Ryan Gosling - Face Symmetry, Touch ups.
|
Before
|
After
|
|
|
First, I used the marquee tool to select his left eye, duplicate, and put that layer over his right eye to correct the symmetry. I then used the eraser to blend in all of the edges. I used the quick selection tool to select his iris, duplicate, and put that layer over his right eye. I repeated these steps for his lips. For his eyes, I used the dodge tool to brighten the whites of his eyes. Lastly, I used the healing brush to touch up his skin.
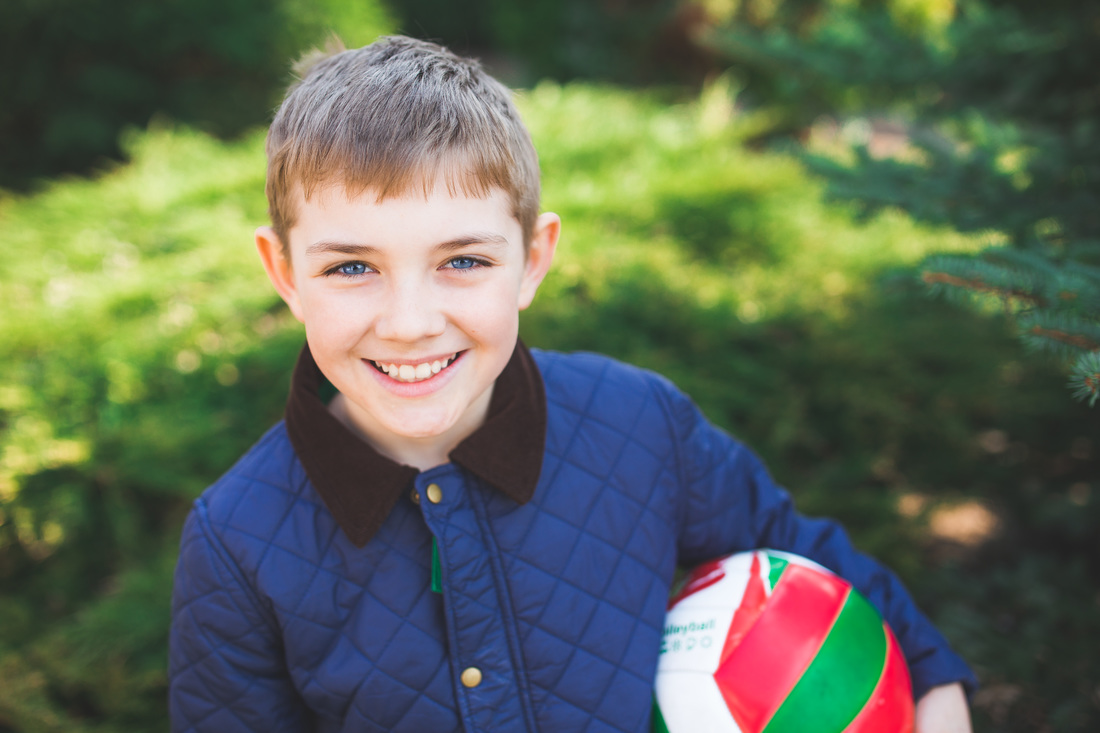
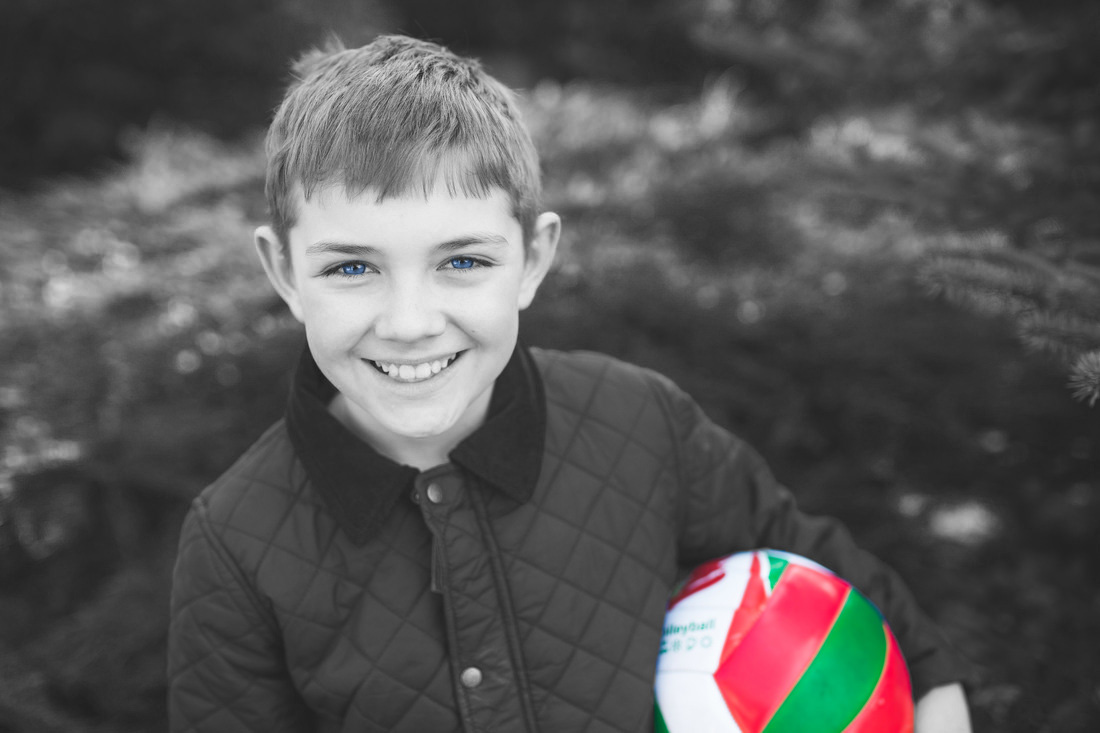
Little Boy - Quick Selection
|
Before
|
After
|
First, I used the quick selection tool to select the ball and then I feathered and refined the edges. I then created a new layer for that selection. I then used the quick selection tool to select his irises and created a new layer for that selection also. I then changed the picture to black and white.
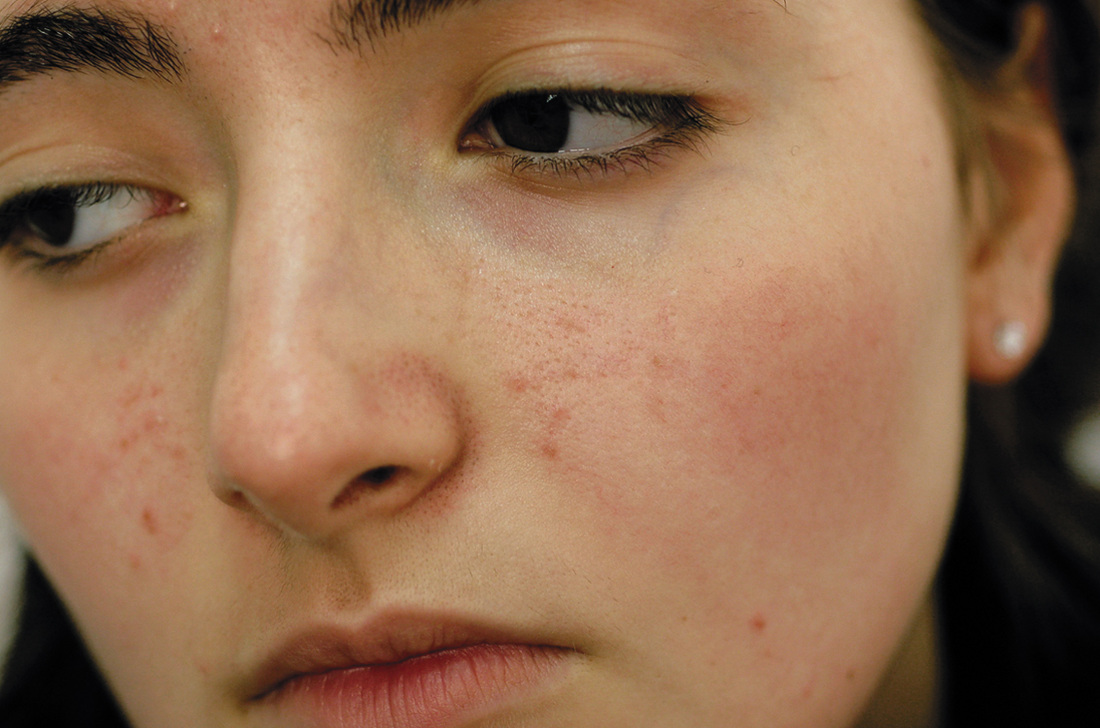
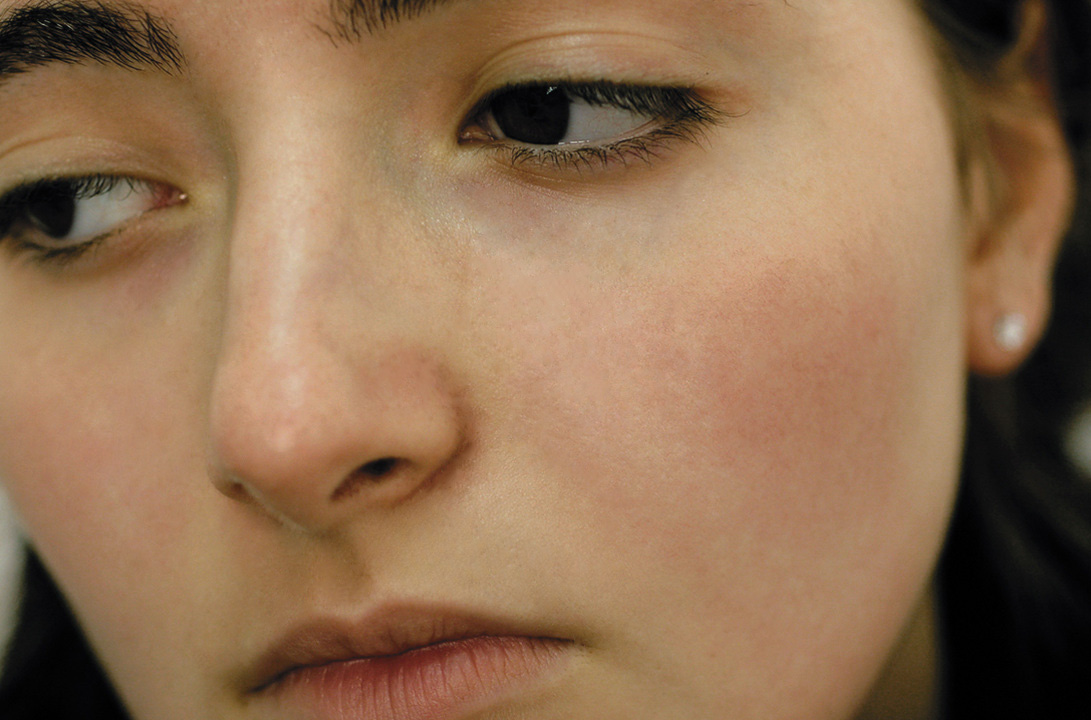
Skin Retouch
|
Before
|
After
|
To retouch this image, first, I used the spot healing brush to get rid of her pimples. I then used the healing brush to get rid of the pores on her cheeks. I also used the healing brush to remove any hair that she had anywhere on her face and also to clean up her eyebrows. Lastly, I made an adjustment with selective colour to remove some of the redness from her face.
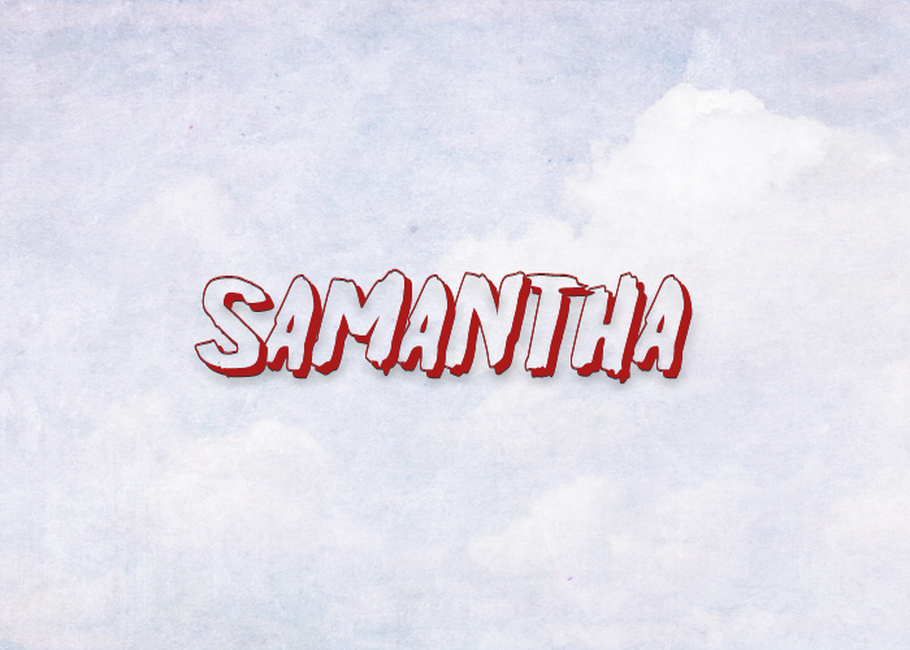
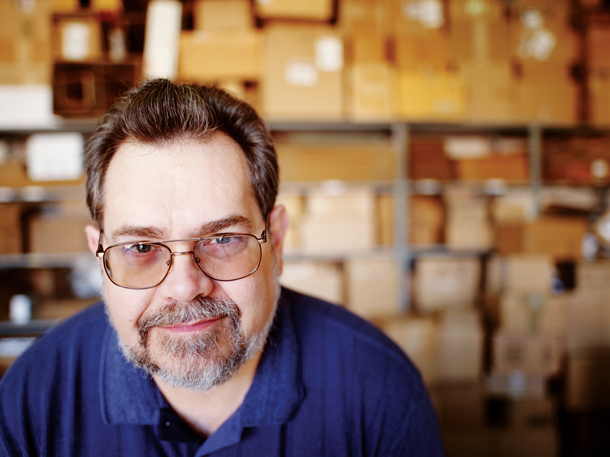
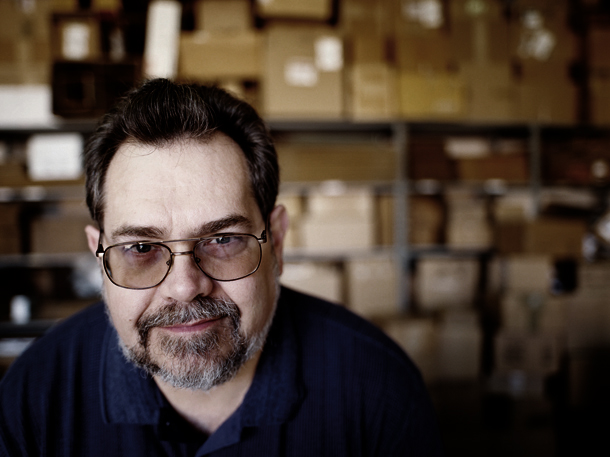
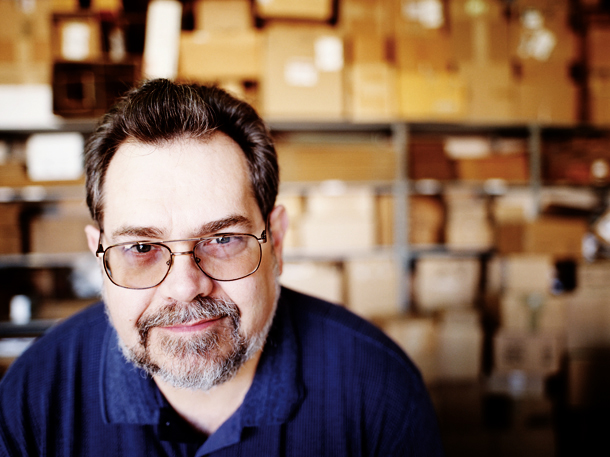
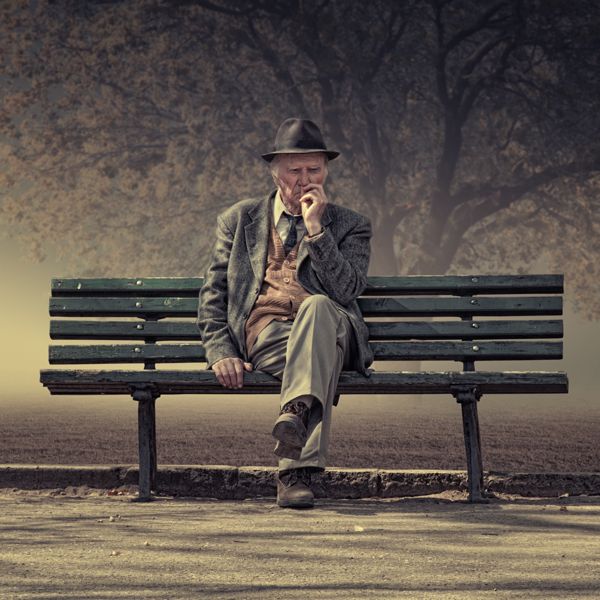
Old Man - Crop, Brush Layer, and Text Layer
|
Before
|
After
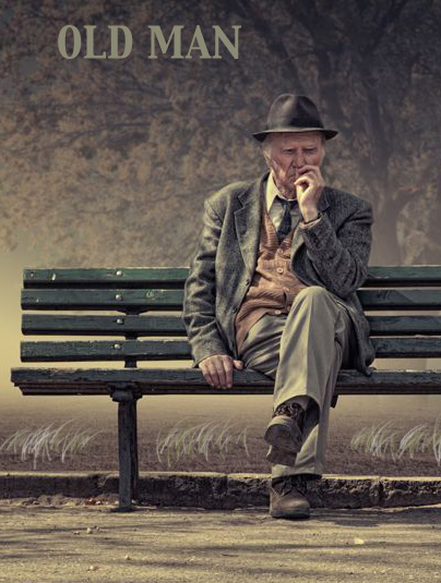
|
